
Last month we posted a sneak peak of the new IPVanish app for Mac OS X. Since then we’ve had time to test the software and would like to share our experience. The most exciting new feature is the new IPVanish kill switch. This allows you to kill your network if the VPN connection is ever lost. It will keep you safe until the VPN reconnects. After reading our review we suggest you try the new client for yourself. The IPVanish team has been very kind in offering our visitors 25% off their popular VPN service. Enjoy unlimited VPN from just $4.87 a month.
How to Use IPVanish on Mac OS X
Let’s dive right in and take a look at the new IPVanish app for Mac:

When you log into the new v2 Mac client you will see the dashboard. This is where you can view your usage as we’ll show later in the post. We wanted to start by showing you how to select a server location. One option is the “By Map” or map view. You can easily move around the map and zoom in on any area. Those who prefer a list view can click on the “By City” icon to the left side of the client interface.
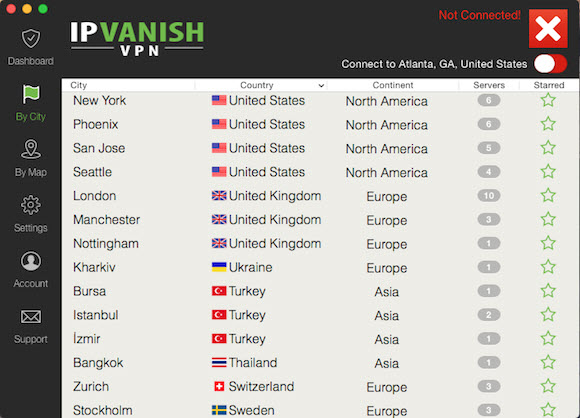
As you can see in the screenshot above, the “By City” screen has a wide selection of server locations to choose from. The list shown is only a fraction of their 180+ servers across 60+ countries. The list shows city, country, continent, and number of servers. It will also let you star any location to set it as a favorite. Once you find the location you want to connect to simply highlight it and click the slider at the top right of the interface.
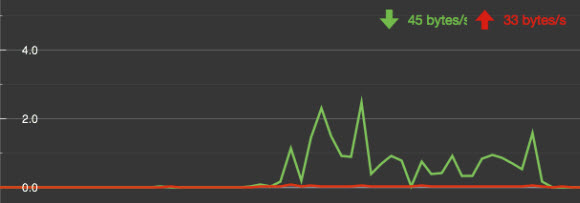
Here’s a quick look at part of the dashboard screen. It will help you see how much data you are sending and receiving through the IPVanish network. This is just for your knowledge since their service does not include any usage limits. They also have a tab to view a log of your connection. This is held locally on your system and would only be used for troubleshooting connection issues. We would like to note that IPVanish does not log your activities while connected to their network. This adds an even higher level of privacy.
Set Up the IPVanish Mac OS X App
Members can download the latest version of the IPVanish Mac client directly from the VPN software section of their website. They also have apps for Windows, iOS, and Android. Once you have it installed launch the app to use the service. You can connect to any server without going through extra configuration. Their “Settings” tab will let you set a number of personal preferences and advanced features like the kill switch.

The general settings tab will let you set your personal preferences including startup, appearance, software updates, and diagnostics. I like to have the IPVanish client show in the dock. You can also select a default city and have it show your connection status in the status bar.
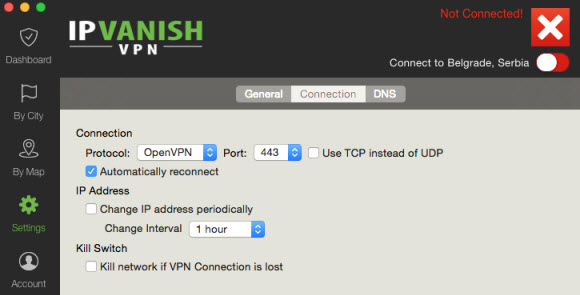
The “Connection” tab will let you set advanced features for the client. You can have IPVanish change your IP address on set intervals. You can also set the “Kill Switch” to kill your connection if the VPN connection is lost. This will help protect your privacy until the VPN reconnects.
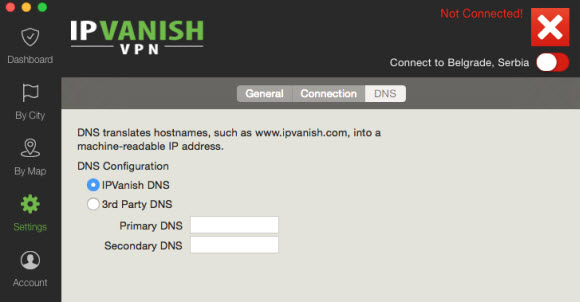
The “DNS” settings screen will let you select between using IPVanish for DNS resolution or a third party DNS like Google or OpenDNS. This is the end of the settings. Once again you don’t need to configure any of them but they will give you a personalized experience. We have enjoyed using the new Mac client and think you’ll like it as well. Visit IPVanish, try the new Mac client for yourself, and let us know what you think.


